|
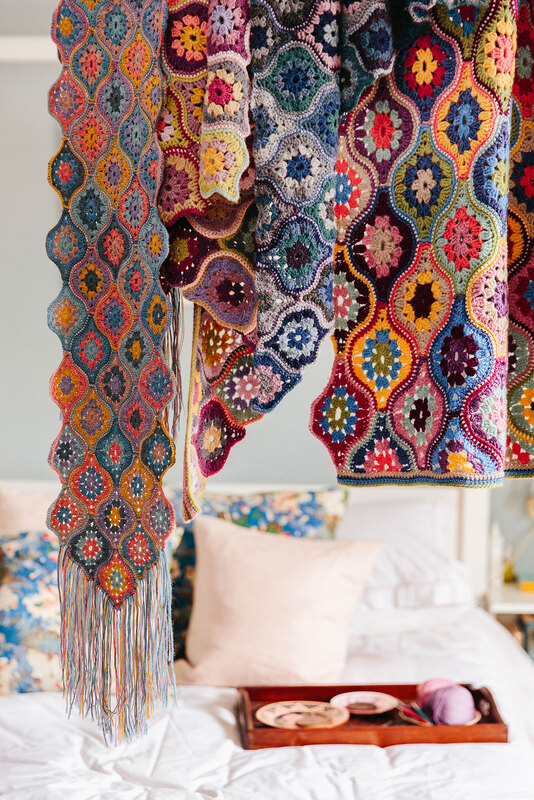
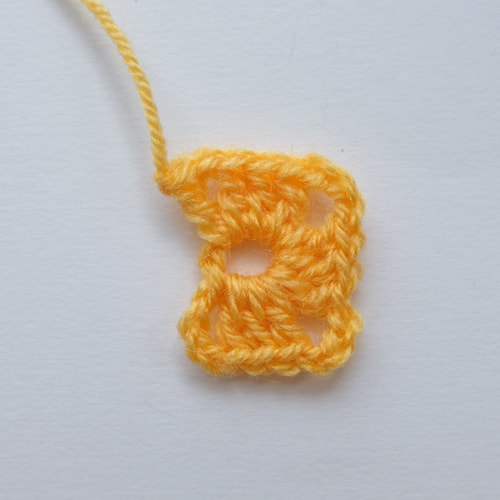
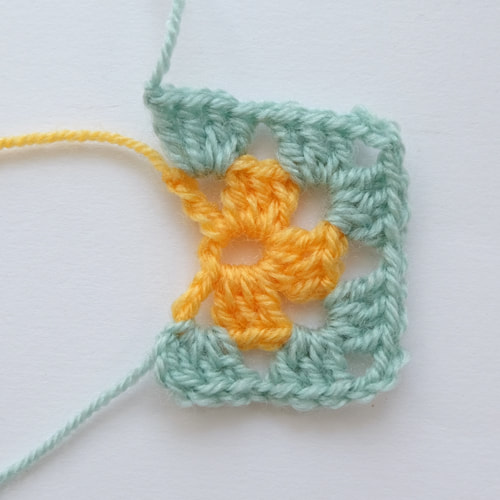
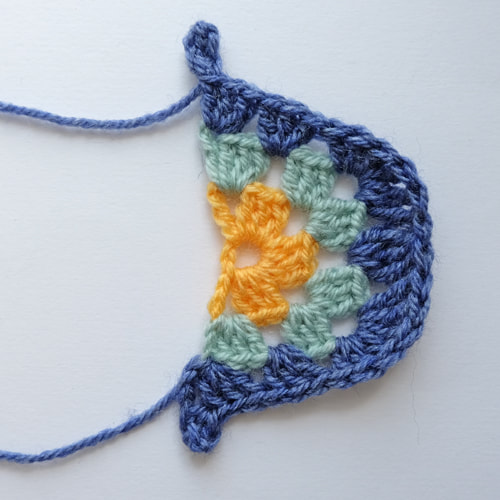
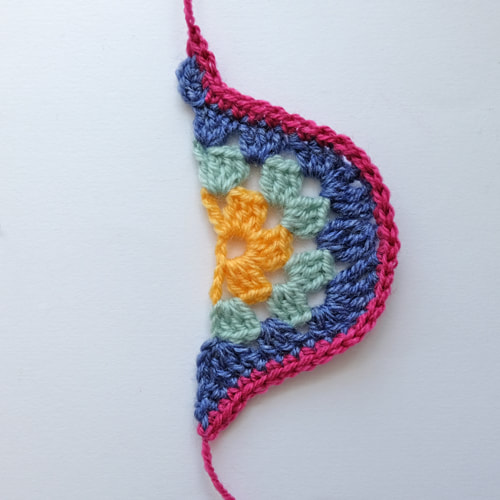
I designed the Mystical Lanterns motif in 2016 in between working on my first two CAL projects for Stylecraft (Lily Pond and Frida's Flowers blankets). It has always been a really popular design and it is a real joy to see the project motifs being made in lots of fabulous colour combinations. The first version of the pattern I realised was for a triangular shawl, so I designed a horizontal half motif to ensure that the shawl had one straight edge at the top. The Ogee shape of the motif gave the shawl a really nice sloped edge so I was more than happy with the outcome of the design. The horizontal half motif was also used in a blanket version a little later on so that it had two straight edges. I am often asked if I have plans to add a vertical half motif to the design as some of you would like to create projects with straight edges on all sides of a project. I love the wavy edges on the blanket, but I know this is not to everyones taste, so I have finally got around to making an alternative vertical half motif and you can find the instructions below. The step by step instructions for how too make this half motif are only available here on the blog - they do not feature in the download or printed pattern. If you want to find the original patterns for this motif you can find the blanket pattern by following this link. The shawl pattern by following this link and the scarf pattern by following this link. I have made my sample using a 4mm hook and DK weight yarn in 4 shades. INSTRUCTIONS (UK terms) Note: All rows are RS facing - do not turn. Using your first shade of yarn make 7ch, join with a ss to form a ring. Foundation Row: 4ch (counts as 1tr & 1ch), [3tr into ring, 3ch] twice, 3tr into ring, 1ch, 1tr into ring, fasten off. (11sts & 4 ch-sps) Row 1: Join your next shade of yarn into 1ch-sp made at beginning of last round by working 1ch + 2ch (counts as 1tr), 3tr into same ch-sp, 1ch, * [3tr, 3ch, 3tr] into next ch-sp, 1ch; repeat from * 4tr into next ch-sp, fasten off. (20sts & 5 ch-sps) Row 2: Join your next shade of yarn into top of first tr made at beginning of last row by working 1ch + 5ch (counts as 6ch), working back along 6ch just made skip next ch, 1dc into each next 2ch, 3tr into (same) st at base of 6ch, 3tr into next ch-sp, [3tr, 3dtr] into next ch-sp, dtr3tog into next ch-sp, [3dtr, 3tr] into next ch-sp, 3tr into next ch-sp, skip 3sts, 3tr into next st (this is the final st made on the last row), 3ch, working back along 3ch just made skip next ch, 1dc into each next 2ch, ss into (same) st at base of 3ch, fasten off. Row 3: Join your next shade of yarn into the skipped ch at motif 'tip' by working 1ch, 1dc into same ch, 1dc into each next 10sts, 2dc into next st, 1dc into each next 3sts, 3dc into next st (this is the st that sits just before the top of the dtr3tog made on previous row), 1dc into each next 3sts, 2dc into next st, 1dc into each next 10sts, 1dc into skipped ch at end of row, fasten off. (35sts) You should find that these motifs join in with your main motifs nicely and that the addition of a border along the side of the motifs will help straighten the 'raw' edge out a little and prevent it from looking quite so wonky! I estimate that you need to work 23sts along the side edge of each half motif when adding a border. I would probably work as follows, but I haven't tried it so you may need to do a bit of jiggling about to make it work:
1st into side of dc made on Row 3 2sts to correspond with next 2dc made at tip on Row 2 2sts along side of next tr made on same row (Row 2) 3sts along side of tr made on Row 2 3sts into next ch-sp made on Foundation Row 1st into ring 3sts into next ch-sp made on Foundation Row 3sts along side of tr made on Row 2 2sts along side of next tr made on Row 2 2sts to correspond with next 2dc made at tip on same row (Row 2) 1st into side of final dc made on Row 3 I hope this goes some way to help those of you who are fans of straight edges! I do plan to revisit the Mystical Lanterns design at some point and will probably add in this vertical half motif to my project too. I am notoriously slow though, so don't hold your breath in the hope of seeing my completed project before you do yours! Janie x Comments are closed.
|
AuthorWelcome to my blog. Here you will find my email newsletter archive alongside any other general musings or information about events or new pattern releases that I wish to share with you! Archives
June 2024
Categories
All
|
Services |
Contact us |
|

 RSS Feed